Key lime pie is a classic dessert that originated in the Florida Keys. This tangy and sweet pie has become a staple in many households and is a must-try for any dessert lover. Making a key lime pie from scratch may seem daunting, but with the right recipe and technique, it can be a fun and rewarding experience.
The history of key lime pie dates back to the early 20th century when condensed milk was introduced to the Florida Keys. The recipe became popular as a way to use the abundance of key limes in the area. Today, key lime pie is a beloved dessert that can be found in many restaurants and bakeries across the country. If you’re looking to make this delicious pie at home, keep reading for a step-by-step guide on how to make the perfect key lime pie.
Key Takeaways
- Key lime pie originated in the Florida Keys and has become a popular dessert across the country.
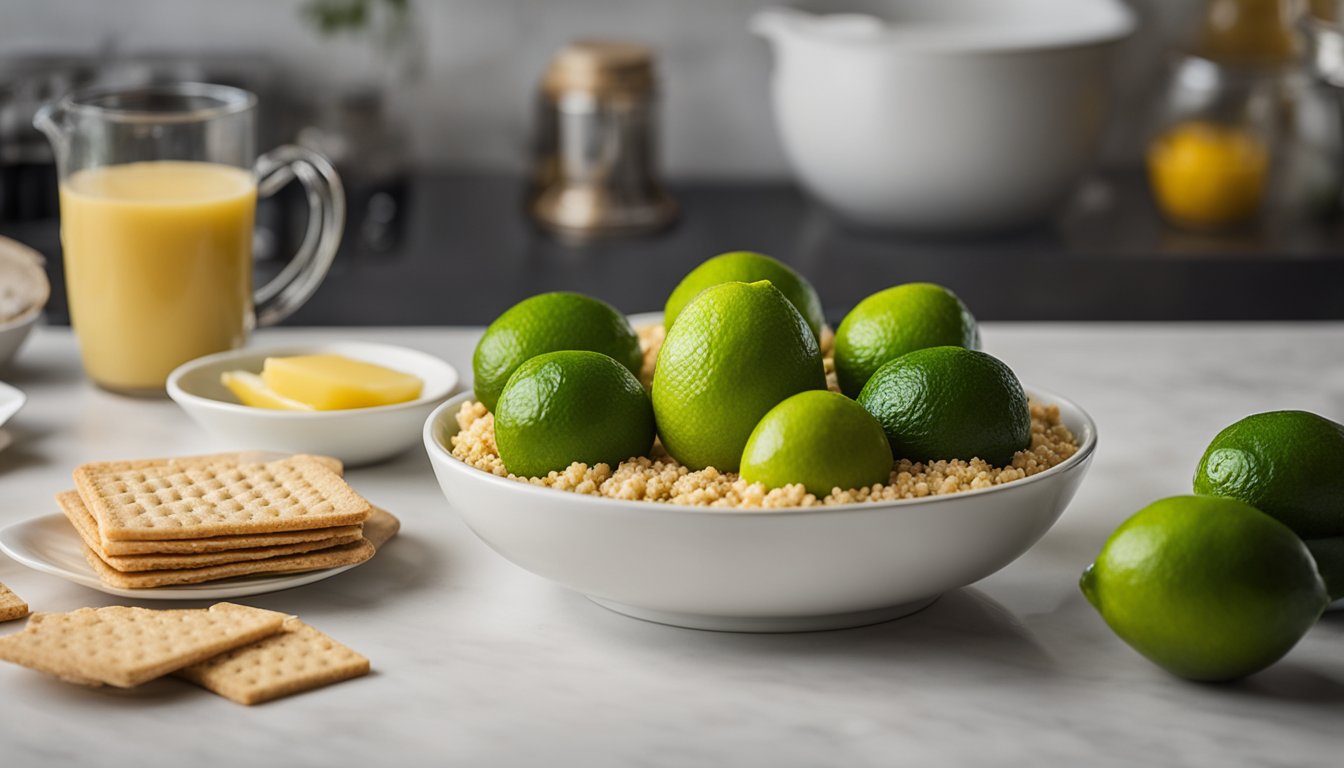
- Essential ingredients for making key lime pie include key lime juice, sweetened condensed milk, and graham cracker crumbs.
- Proper equipment, such as a pie dish and a mixer, is necessary for making the perfect key lime pie.
History of Key Lime Pie
Key Lime Pie is a dessert that is believed to have originated in the Florida Keys in the late 1800s. The pie is made with Key lime juice, sweetened condensed milk, and egg yolks, and is typically served on a graham cracker crust.
The exact origins of the Key Lime Pie are unclear, but it is believed to have been created by early settlers in the Florida Keys who had access to Key limes, which are smaller and more acidic than regular limes. The dessert became popular in the area and eventually spread to other parts of the United States.
One popular legend attributes the creation of the Key Lime Pie to a ship salvager named William Curry, who lived in Key West in the mid-1800s. According to the story, Curry’s cook, known only as “Aunt Sally,” created the dessert using ingredients that were readily available on the island.
Over time, the Key Lime Pie became a staple of Florida cuisine and was even declared the official state pie of Florida in 2006. Today, the dessert is enjoyed by people all over the world and has even inspired variations such as frozen Key Lime Pie and Key Lime Pie ice cream.
Overall, the history of Key Lime Pie is a testament to the ingenuity and resourcefulness of early settlers in the Florida Keys, who were able to create a delicious dessert using only a few simple ingredients.
Essential Ingredients
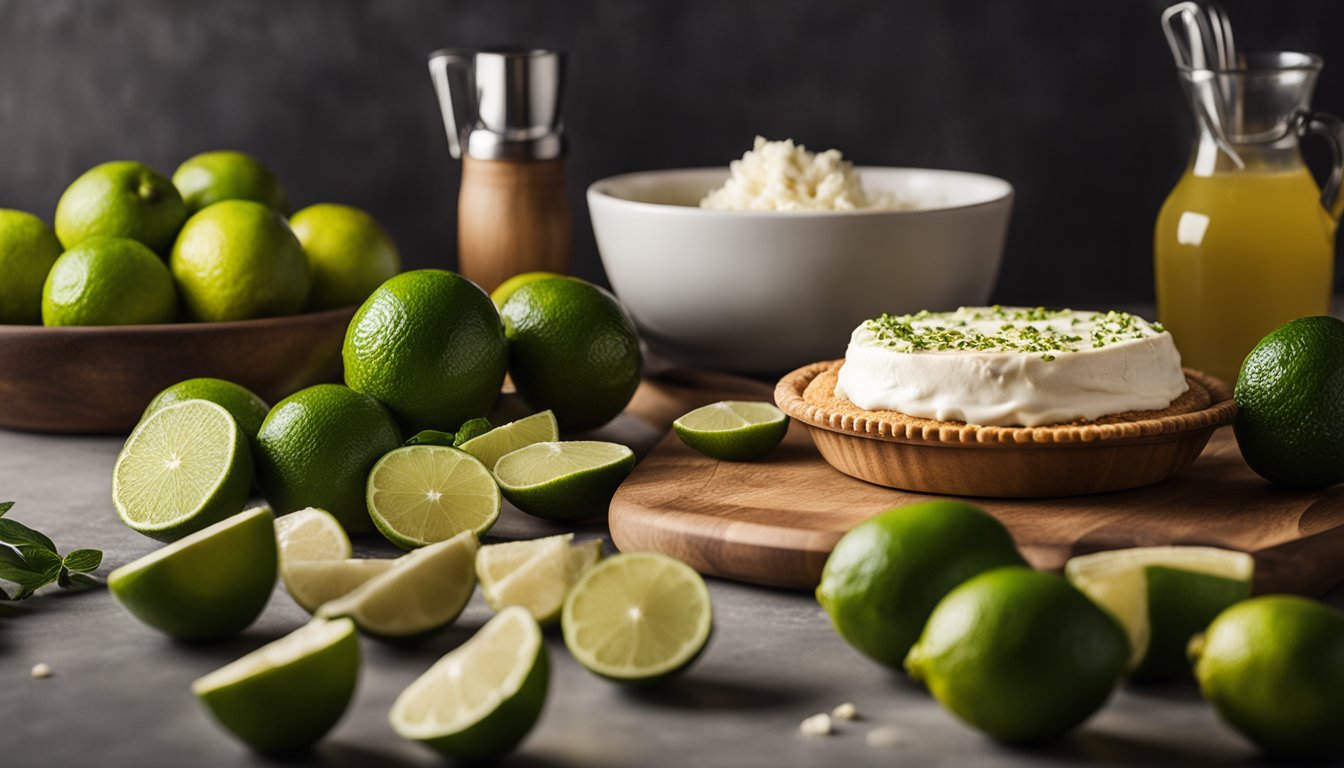
Key Limes
The key to a delicious Key Lime Pie is the use of fresh key limes. These small, round limes are known for their distinct tart and floral flavor. They are smaller and more acidic than regular limes, and have a yellow-green color when ripe. When shopping for key limes, look for ones that are heavy for their size and have smooth, unblemished skin.
Egg Yolks
Egg yolks are an essential ingredient in Key Lime Pie as they help to thicken and set the filling. They also add richness and depth of flavor to the pie. It is important to use fresh eggs and separate the yolks from the whites carefully. The yolks should be beaten until they are pale yellow and slightly thickened before adding the other ingredients.
Sweetened Condensed Milk
Sweetened condensed milk is another key ingredient in this pie. It is made by removing most of the water from milk and adding sugar, resulting in a thick and sweet milk that is perfect for desserts. It adds a creamy and rich texture to the filling, and also helps to balance the tartness of the key limes. When choosing sweetened condensed milk, look for a brand that is high quality and has a thick consistency.
By using these three essential ingredients in the right amounts, you can create a delicious and authentic Key Lime Pie that is sure to impress.
Required Equipment
To make a delicious Key Lime Pie, there are a few essential pieces of equipment that you’ll need to have on hand. Here are the three main items you’ll need:
Mixing Bowls
To make the filling for the Key Lime Pie, you’ll need a few mixing bowls. It’s best to have at least two bowls – one for mixing the wet ingredients and one for mixing the dry ingredients. This will help keep the ingredients from clumping together and ensure that everything is evenly mixed. You can use either glass or metal bowls, but make sure they are large enough to hold all of the ingredients.
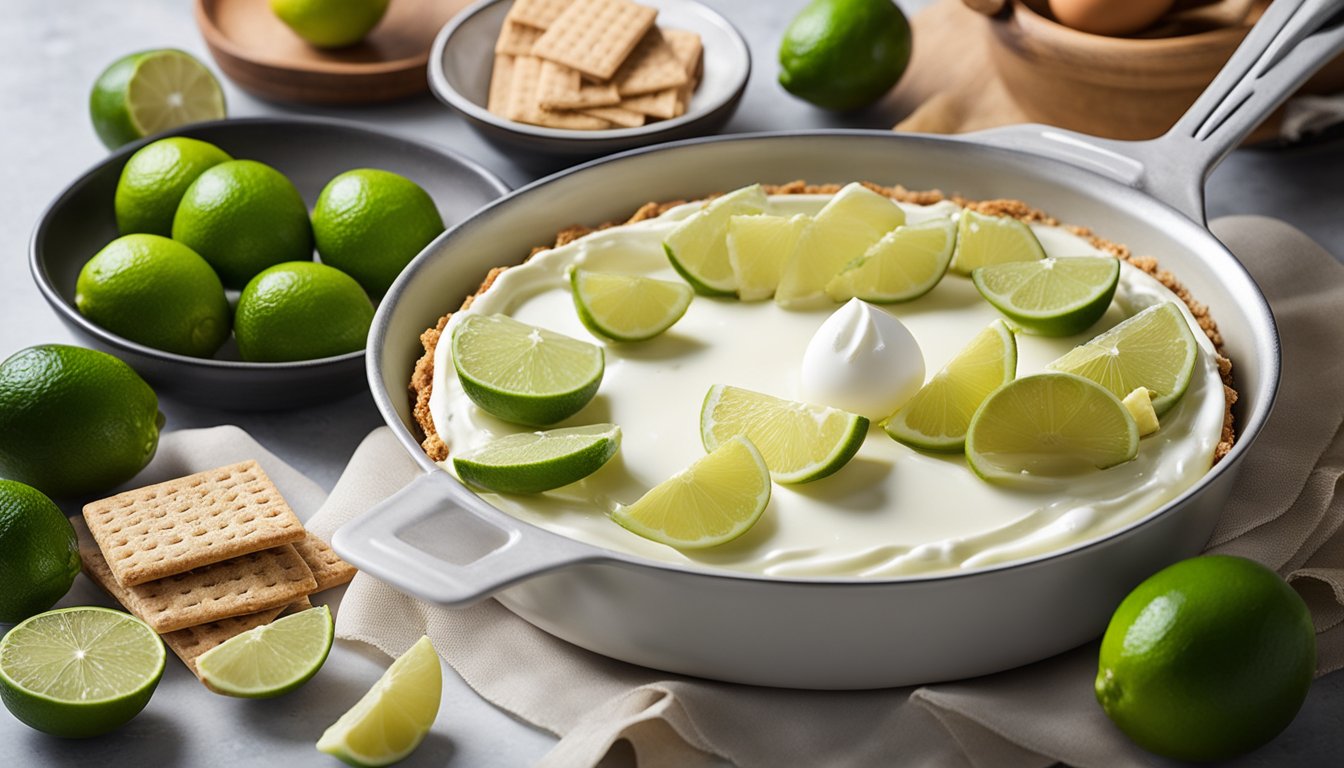
Pie Dish
Once you’ve mixed together the ingredients for the filling, you’ll need a pie dish to pour it into. You can use either a glass or metal pie dish, but make sure it’s at least 9 inches in diameter. This will ensure that the pie has enough room to cook evenly and won’t overflow in the oven. You can also use a disposable aluminum pie dish if you don’t have a permanent one.
Zester and Juicer
The final piece of equipment you’ll need is a zester and juicer. You’ll need to zest and juice fresh limes to get the authentic Key Lime Pie flavor. A zester is a small tool that allows you to remove the thin, flavorful outer layer of the lime peel without getting any of the bitter white pith. A juicer is a tool that allows you to extract as much juice as possible from the limes. You can use either a handheld or electric juicer, but make sure it’s easy to use and clean.
By having these essential pieces of equipment on hand, you’ll be well on your way to making a delicious Key Lime Pie.
Crust Preparation
Crust Ingredients
To make the perfect key lime pie crust, one needs to gather the following ingredients:
| Ingredient | Quantity |
|---|---|
| Graham cracker crumbs | 1 1/2 cups |
| Granulated sugar | 1/4 cup |
| Unsalted butter, melted | 1/2 cup |
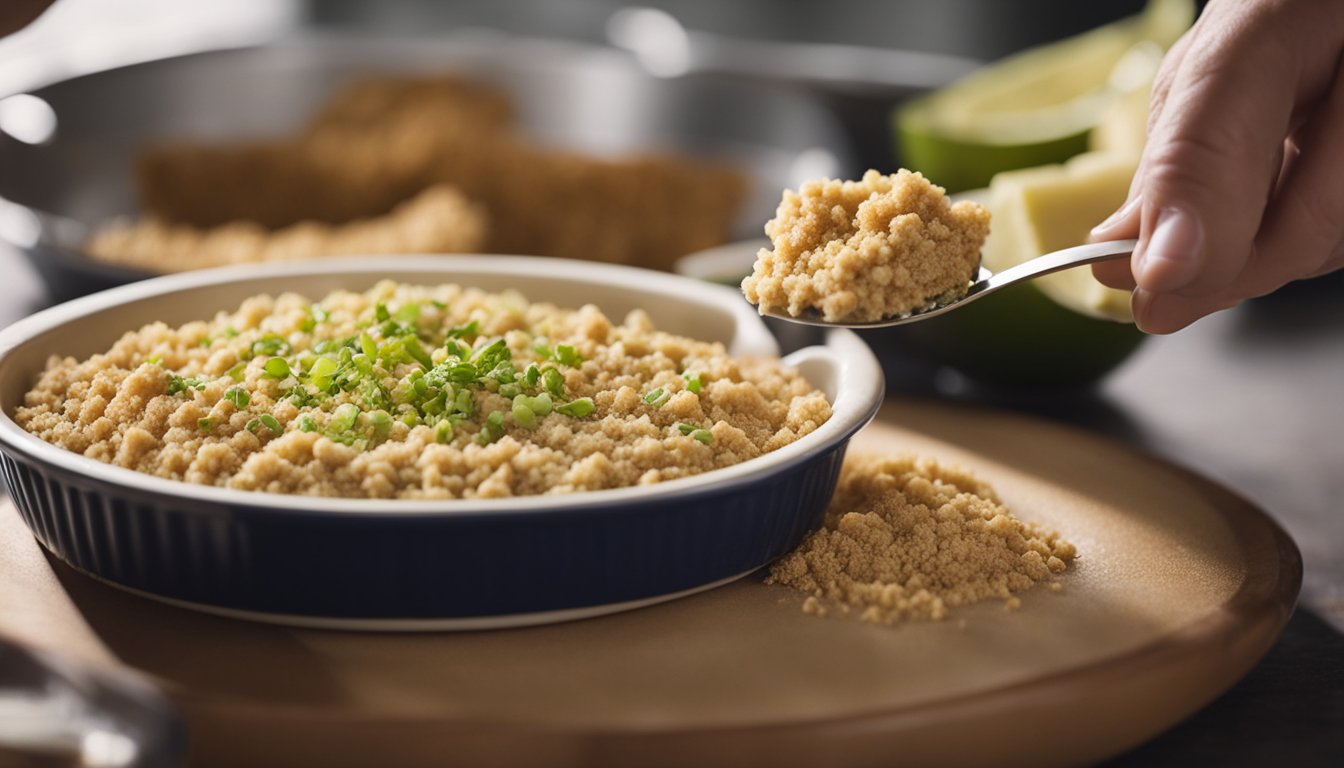
Mixing and Baking
Once the ingredients are gathered, the crust can be prepared by following these steps:
- Preheat the oven to 350°F.
- In a mixing bowl, combine the graham cracker crumbs and granulated sugar.
- Add the melted butter to the bowl and mix until the crumbs are fully coated.
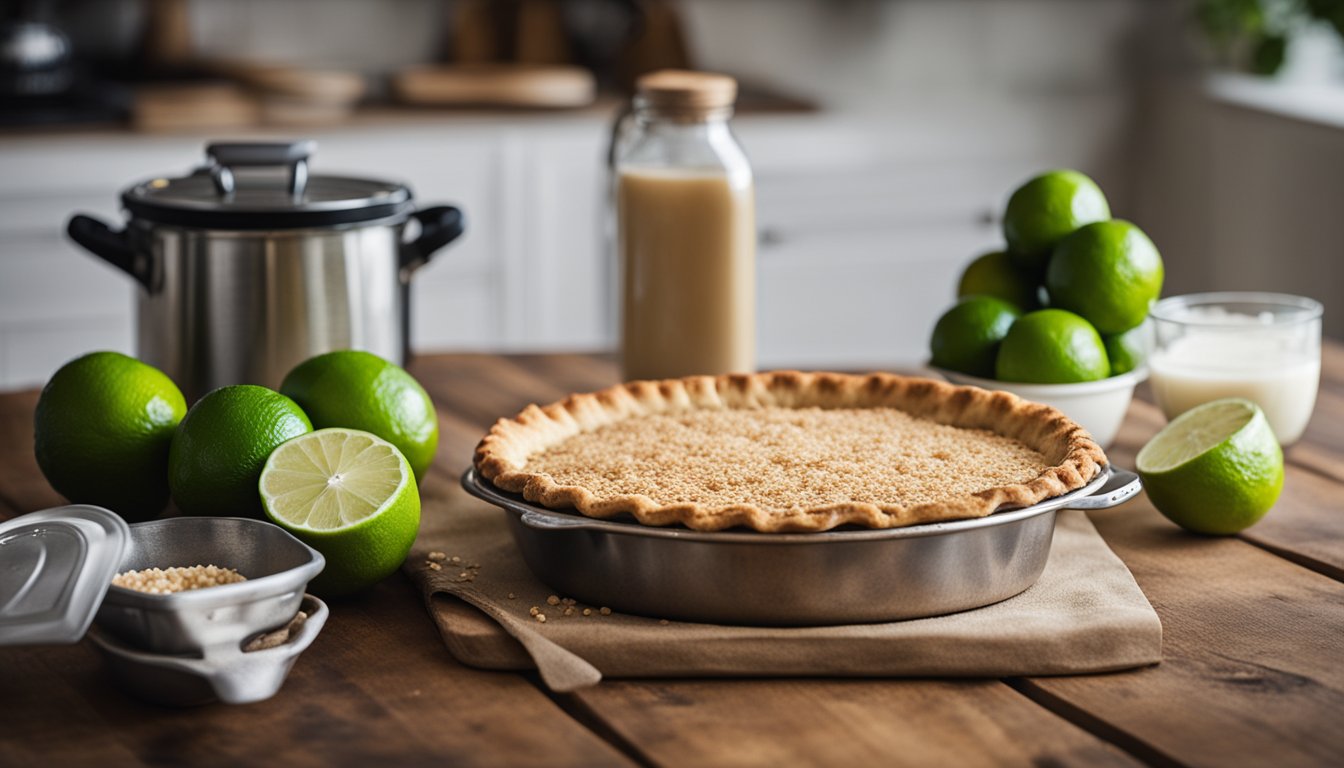
- Press the mixture into a 9-inch pie dish, making sure to cover the bottom and sides evenly.
- Bake the crust for 10-12 minutes or until golden brown.
- Remove the crust from the oven and let it cool completely before adding the filling.
By following these simple steps, one can create a delicious and crispy crust that perfectly complements the tangy and sweet key lime filling.
Filling Preparation
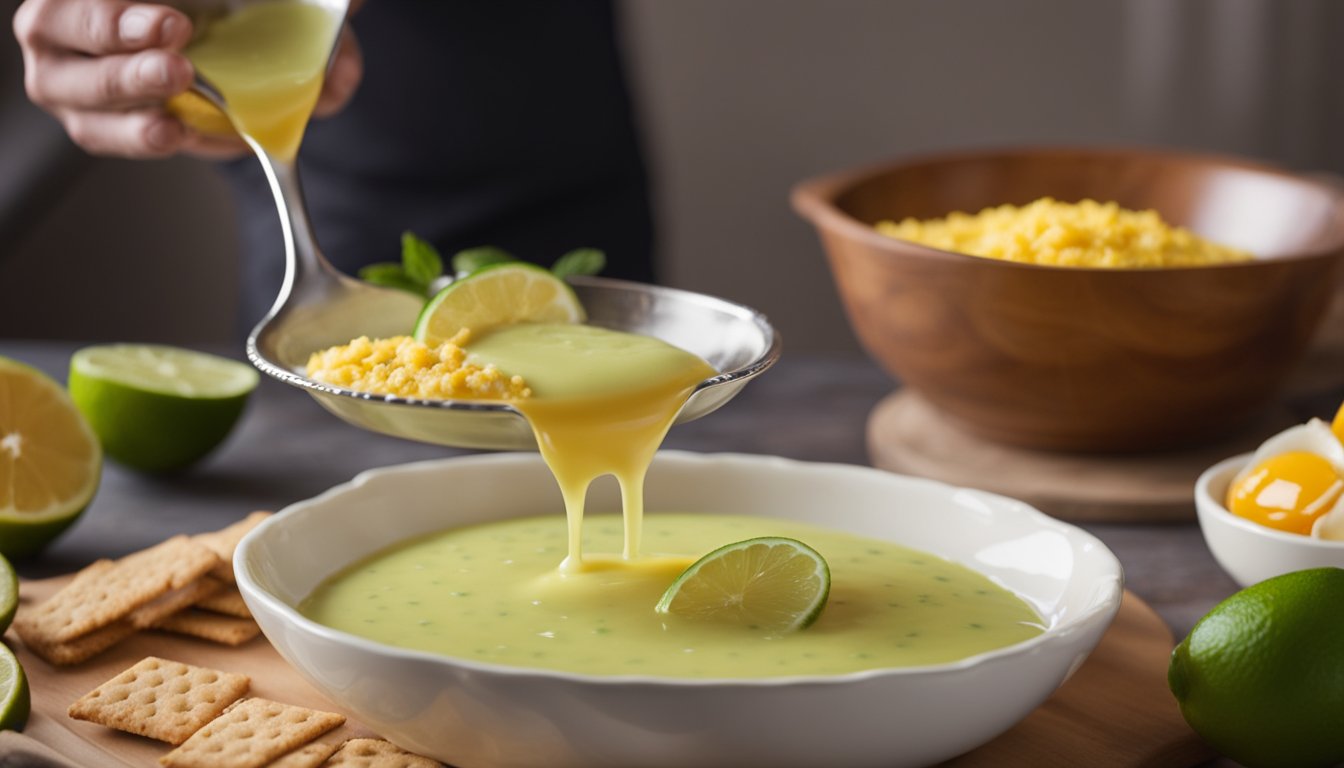
Mixing the Filling
To make the filling for the Key Lime Pie, start by whisking together the condensed milk, egg yolks, and lime juice in a medium-sized bowl. The mixture should be smooth and well combined. For added flavor, you can also add some lime zest to the filling mixture.
Baking the Filling
Once the filling mixture is ready, pour it into the pre-baked pie crust and smooth it out evenly. Bake the pie in a preheated oven at 350°F for about 15-20 minutes or until the filling is set. To check if the pie is done, gently shake it. The filling should be firm and not jiggle too much.
It is important not to overbake the pie as this can cause the filling to crack. Once the pie is done, remove it from the oven and let it cool to room temperature before refrigerating it for at least 2 hours.
Overall, the filling preparation for Key Lime Pie is a simple and straightforward process that can be easily accomplished with a few basic ingredients and some careful attention to detail. With the right technique, you can create a delicious and creamy filling that perfectly complements the tangy flavor of the lime juice.
Meringue Topping
Whipping Egg Whites
To make the perfect meringue topping for the Key Lime Pie, the egg whites must be whipped to perfection. To start, make sure the bowl and whisk are completely clean and free of any grease or residue. This will help the egg whites to whip up to their fullest potential.
Separate the egg whites from the yolks and add them to the clean bowl. Using an electric mixer or stand mixer, beat the egg whites on medium speed until they become frothy. Increase the speed to high and continue to beat until stiff peaks form. This should take about 5-7 minutes.
Adding Sugar
Once the egg whites have reached the stiff peak stage, it’s time to add the sugar. Gradually add in the sugar, one tablespoon at a time, while continuing to beat the egg whites on high speed. This will help the sugar to dissolve completely and create a smooth and glossy meringue.
Once all the sugar has been added, continue to beat the meringue on high speed for another minute or two until it becomes thick and shiny. Be careful not to overbeat the meringue, as it can become grainy and dry.
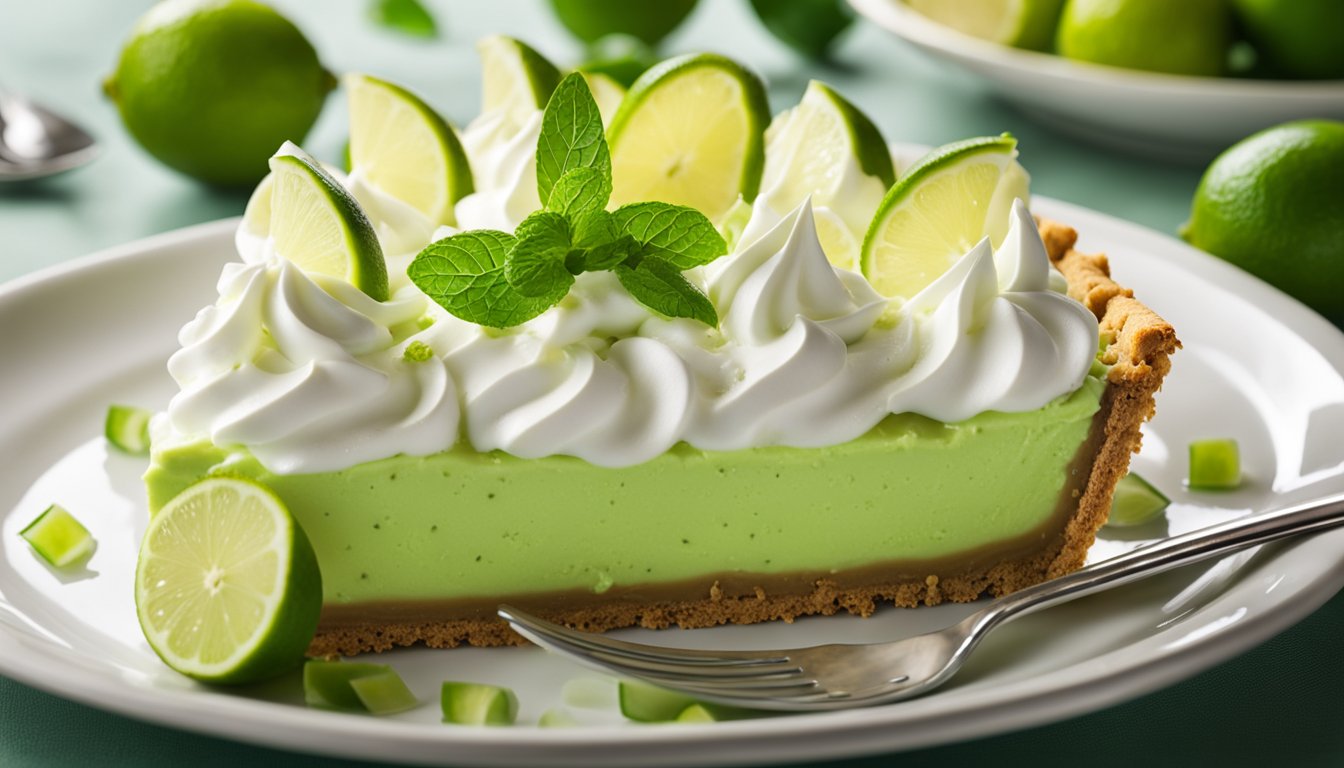
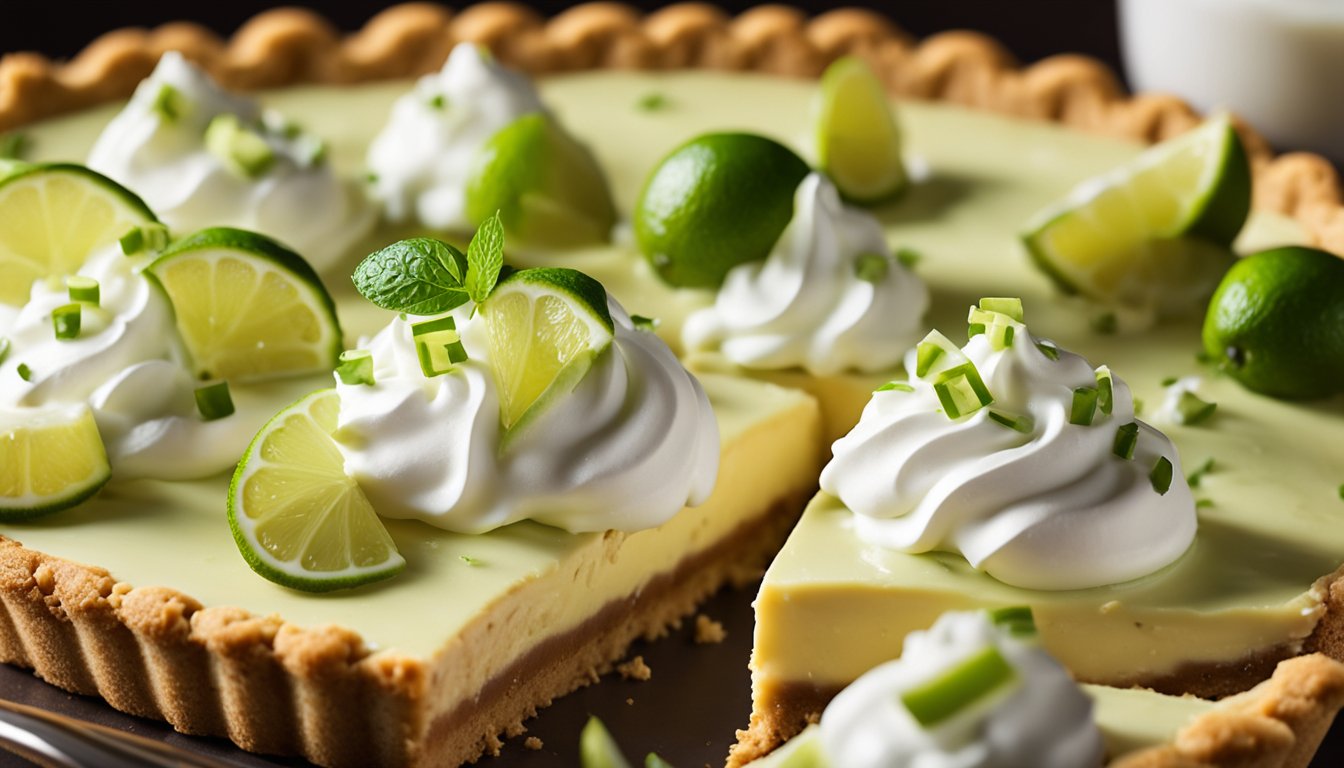
Spread the meringue over the cooled Key Lime Pie, making sure to completely cover the filling all the way to the edges. Use a spatula or the back of a spoon to create peaks and swirls in the meringue for a decorative touch.
With these simple steps, anyone can create a beautiful and delicious meringue topping for their Key Lime Pie.
Assembly and Baking
To assemble the key lime pie, pour the filling into the prepared crust and smooth it out with a spatula. Place the pie in the preheated oven and bake for 10-12 minutes or until the filling is set but still jiggles slightly in the center.
Once the pie has finished baking, remove it from the oven and let it cool to room temperature. Then, cover it with plastic wrap and chill in the refrigerator for at least 2 hours before serving.
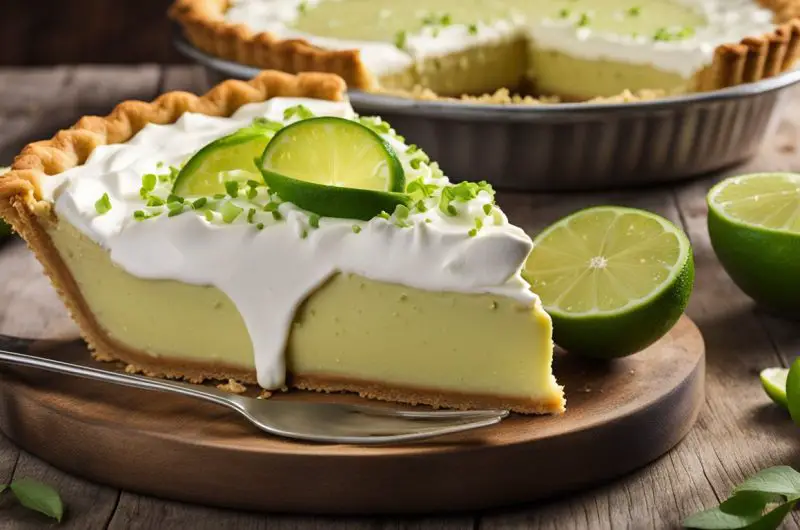
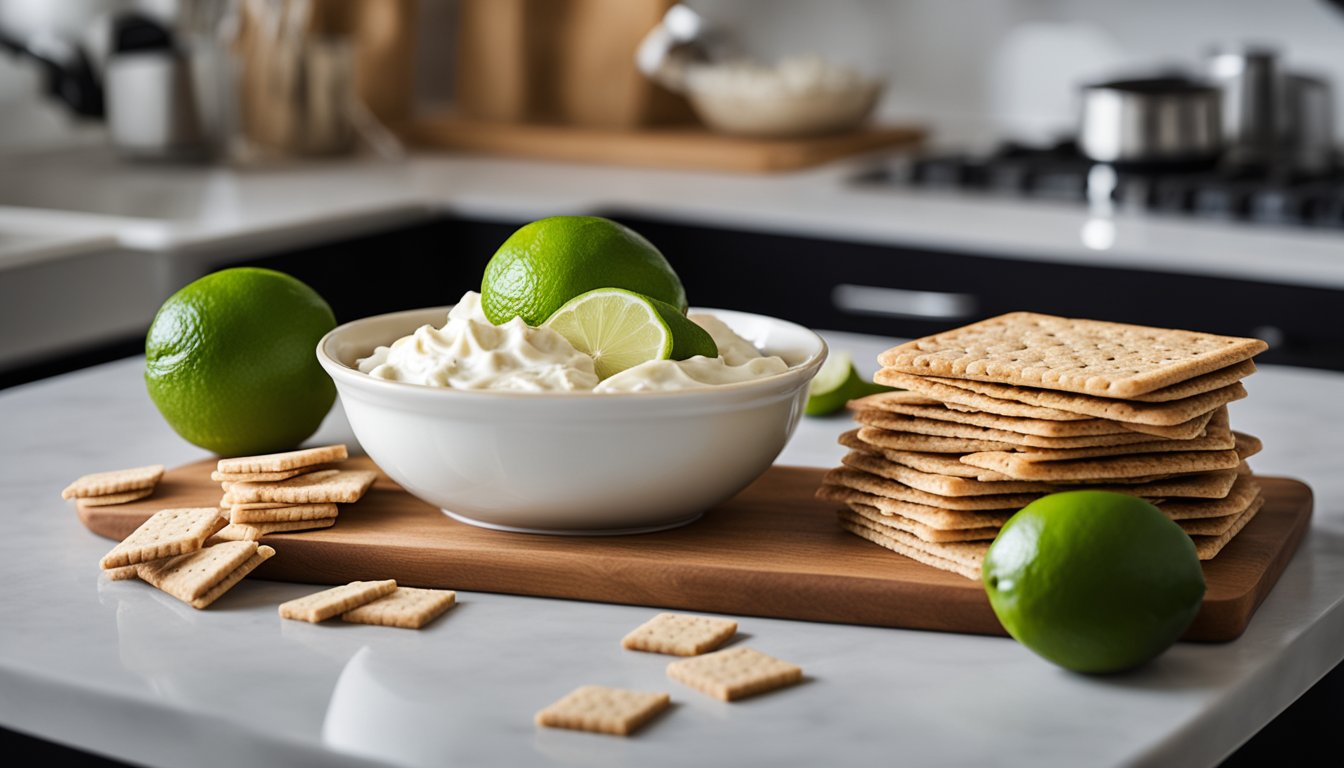
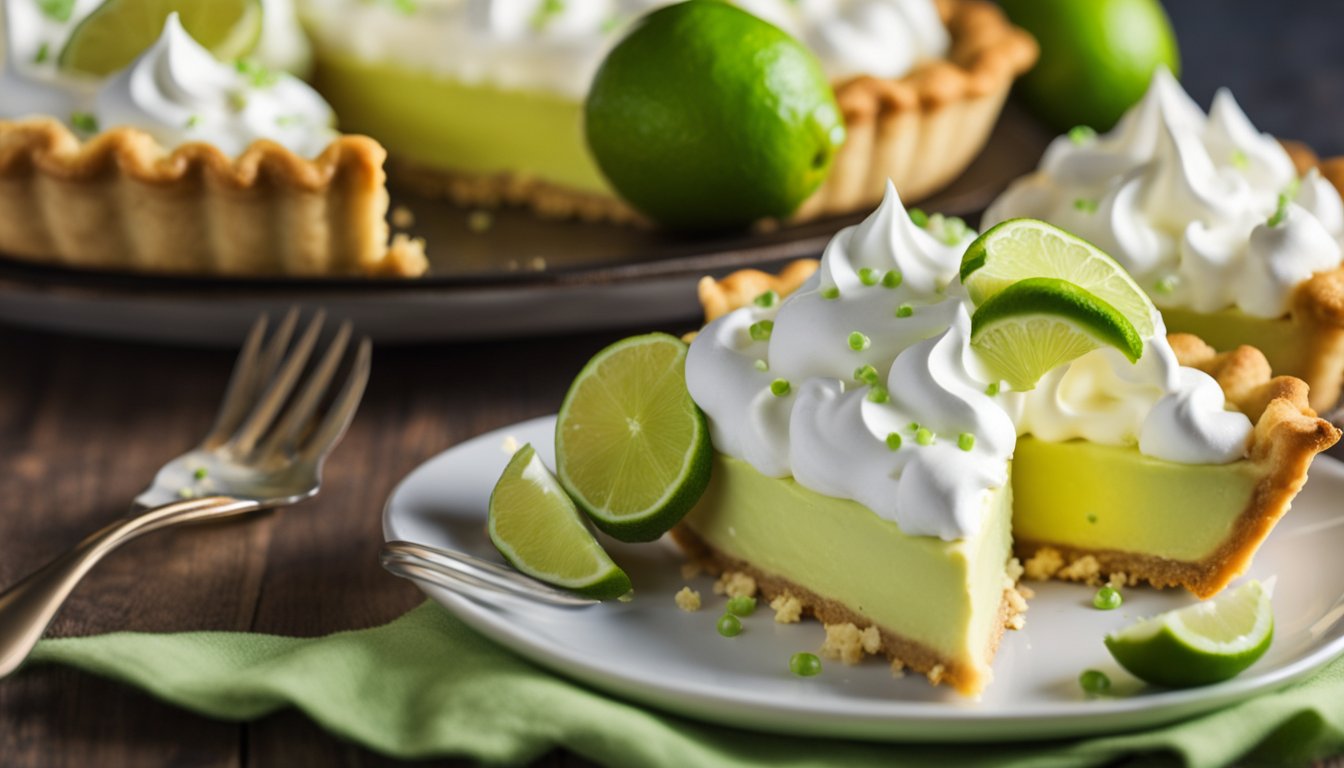
For an extra touch of flavor and presentation, consider topping the pie with whipped cream and lime slices before serving.
Here’s a quick summary of the assembly and baking process for easy reference:
- Pour filling into prepared crust and smooth with spatula
- Bake for 10-12 minutes until filling is set but still jiggles slightly
- Cool to room temperature, cover with plastic wrap, and chill in refrigerator for at least 2 hours
- Top with whipped cream and lime slices (optional) before serving.
Chilling and Serving
Refrigeration Time
After the Key Lime Pie has been baked and cooled to room temperature, it is important to refrigerate it before serving. This allows the pie to set properly and ensures a smooth and creamy texture. The recommended refrigeration time for Key Lime Pie is at least 2 hours, but it can be left in the fridge for up to 24 hours.
To cover the pie while it is in the fridge, use plastic wrap or aluminum foil. This will prevent the pie from absorbing any odors or flavors from other foods in the fridge.
Serving Suggestions
When ready to serve, remove the Key Lime Pie from the fridge and let it sit at room temperature for about 10-15 minutes before slicing. This will make it easier to cut and ensure a clean presentation.
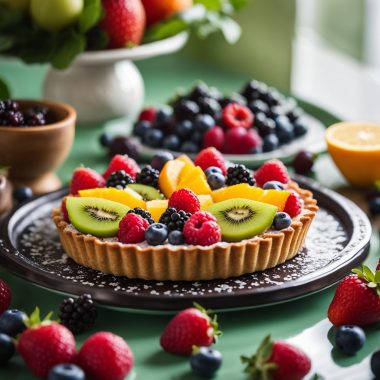
For an extra touch of flavor and presentation, top each slice of Key Lime Pie with a dollop of whipped cream and a slice of lime. Alternatively, you can also serve it with a side of fresh berries or a drizzle of raspberry sauce.
To make it even more refreshing, consider serving Key Lime Pie with a scoop of vanilla ice cream or a glass of iced tea. This will complement the tangy and citrusy flavors of the pie and make for a perfect dessert on a warm summer day.
Variations and Substitutions
Dietary Adjustments
For those with dietary restrictions, there are several adjustments that can be made to the classic key lime pie recipe. To make a gluten-free crust, simply substitute the graham crackers with gluten-free cookies or crackers. For a dairy-free version, use coconut cream instead of heavy cream and coconut oil instead of butter in the crust. For a vegan option, use a vegan butter substitute in the crust and coconut cream in the filling.
Flavor Twists
While the classic key lime pie recipe is delicious on its own, there are several ways to add a unique twist to the dessert. One option is to add a layer of fresh berries on top of the filling, such as strawberries or raspberries. Another option is to mix in a tablespoon of tequila or rum into the filling for a boozy twist. For a more tropical flavor, add a tablespoon of shredded coconut to the crust or top the pie with toasted coconut flakes. For a richer flavor, substitute half of the lime juice with lemon juice or add a tablespoon of vanilla extract to the filling.
Overall, the key lime pie recipe is versatile and can be adjusted to fit different dietary needs and flavor preferences. With these variations and substitutions, anyone can enjoy a delicious and unique twist on the classic dessert.
Storage and Shelf Life
Once the key lime pie is prepared, it is important to store it properly to ensure it stays fresh for as long as possible. The pie should be covered with plastic wrap or aluminum foil and stored in the refrigerator. It can last for up to 4-5 days in the refrigerator.
If you plan on storing the pie for longer than 5 days, it is recommended to freeze it. The pie can be wrapped tightly in plastic wrap and stored in the freezer for up to 2-3 months. To thaw the pie, it should be removed from the freezer and placed in the refrigerator overnight.
It is important to note that the texture of the pie may change slightly after being frozen and thawed. However, the flavor should remain the same.
To ensure the best possible shelf life, it is recommended to store the pie in an airtight container. This can help prevent any moisture from getting in and affecting the texture or flavor of the pie.
Overall, proper storage and handling of key lime pie can help ensure it stays fresh and delicious for as long as possible.